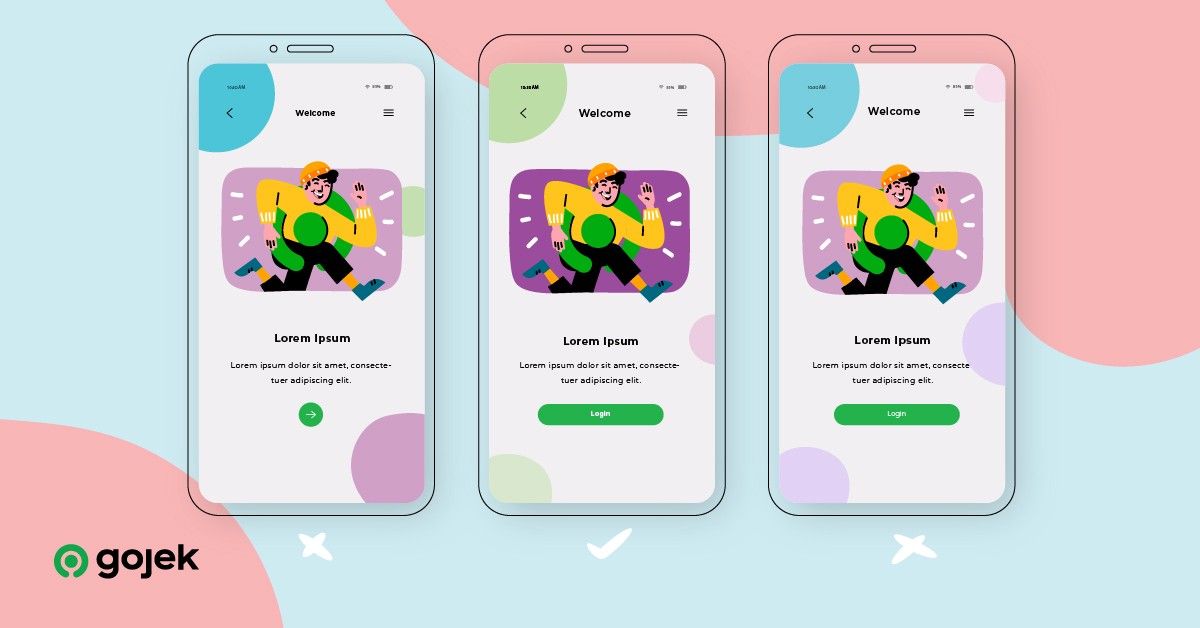
Screenshot Testing our Design System on Android
An overview of how we do screenshot tests, and the open source libraries that helped us along the way.

By Jitin Sharma
In this post, we’ll take a look at how we test our Design System components on Android using screenshot tests to make them pixel perfect. 👌
Let’s start with an example.
Take a look at these two images:

They may look the same, but they aren’t! Here’s what’s different:

There are two subtle changes — the colour of the button is a different shade of green and the elevation is also different.
In Asphalt, our design language system, we want to make sure our UI components are robust and detect breakages early. Here’s how we leveraged screenshot tests to achieve this.
Components Everywhere

With Asphalt, we create components that can be reused across the Gojek app. Every button, text, input, or card which you see in most of the screens of the app is an Asphalt Component. On top of this, we have a demo app which showcases the usage of these components.

Our components are the backbone of the Gojek app UI. For example, our button class has 300+ occurrences across Gojek’s consumer app codebase. This heavy reuse helps us enforce design guidelines across the app. The importance of these components requires that we test them thoroughly, as even a small regression in one component could mean a degraded experience for our users.
[U]n[I]t Testing
Unit tests are supposed to test logic and fail when expectations aren’t met. How do we expect that a certain UI is being rendered properly?
The idea of screenshot testing is to have a master copy of screenshots that we know are correct and on every test run compare the current screenshots to the master copy. If the current set does not match the master set, the test fails. This will allow us to check unintentional UI changes. If the changes are intentional, then we run the tests in update mode which updates the master screenshots.
Here is the high level outline:
- Write Espresso test for all activities in the demo
- Take screenshots and create a master set
- At every CI run take screenshots again and compare with master set
We started out with Shot, an open source library which allows us to take screenshots and compare them using gradle commands and generate reports.
Here’s what a test for our Alert component looks like 👇
Achilles Heel — The Android Emulator

While the Android emulator has improved a lot in recent times, we found running emulators in CI is still unreliable.
Here are a few issues we faced:
- We had to wait to for the emulator to start up, which was only possible through a hack(y) script by continuously pinging adb commandsEmulator would put more memory pressure on CI runners
Emulators also need hardware acceleration which required us to enable kvm on our Linux-based machines.Running Instrumentation test cases with these issues would mean our tests would be flaky — and we couldn’t have that.
Firebase Test Lab saves the day!

We decide to move away from emulators to real devices.
One idea was to have devices connected to a machine and use the machine as a runner for running test cases in CI — a device test lab.
But devices come with their own baggage — maintaining them. They may be interrupted by software updates, system dialogs… or get overcharged and explode! 🔥
We found the next best thing: Firebase Test Lab — a set of devices in cloud, managed automatically and available via CLI.
This solved our device problem, but we ran into another one — Firebase Test Lab doesn’t allow you to run custom gradle commands. Instead, it expects you to upload a debug and a test apk, and it will run the tests for you. This meant we could no longer use Shot for taking screenshots and comparing them 😦
While scratching our heads over how to overcome this problem, we found that Firebase Test Lab allows you to take screenshots through a library and then retrieve them from Google Cloud Bucket.
There is also a gradle plugin which automates this process including downloading artifacts from GCP — open source to the rescue again!
Here’s how our test case looks like with Firebase screenshot library:
For image comparison we used ImageMagick, a very popular and feature-packed CLI tool for image manipulation. It also allows us to output a different image in case two images don’t match, which is super useful for generating test failure reports.
The final piece — integrating screenshot tests into our developer workflow
As part of CI, we do the following things when a merge request is raised:
- Build the project
- Run Espresso Tests on Firebase Test Lab
- Retrieve screenshots and compare them with master set
- If any screenshot doesn’t match, we fail the build and add a comment to PR using Danger

We have been using this setup for some time now, and it’s worked out great for us! We have been able to execute multiple UI refactors with high confidence.
What’s next?
We will continue to invest in this setup in the future. Things like testing localisation, having a test matrix with multiple screen sizes, API levels, device densities… these are some things we have planned for the future.
A big thank you to the open source libraries that helped us achieve this!
Liked what you read? Sign up for our newsletter and we’ll send you weekly updates about our stories! 🖖
