How to Use Templates to Improve the Android Studio Experience
An explainer on setting up different templates offered by Android Studio to increase productivity.

By Akshay Mukadam
Building an Android app is a fun experience, until the project grows beyond a certain threshold. Due to the recent indexing issues in Android Studio, even editing and adding new code constructs in existing layout files can be cumbersome. When you build apps day in and day out, optimising workflow is vital. In this post, I’ll take you through some useful templates that can change how you use Android Studio.
Layout Template
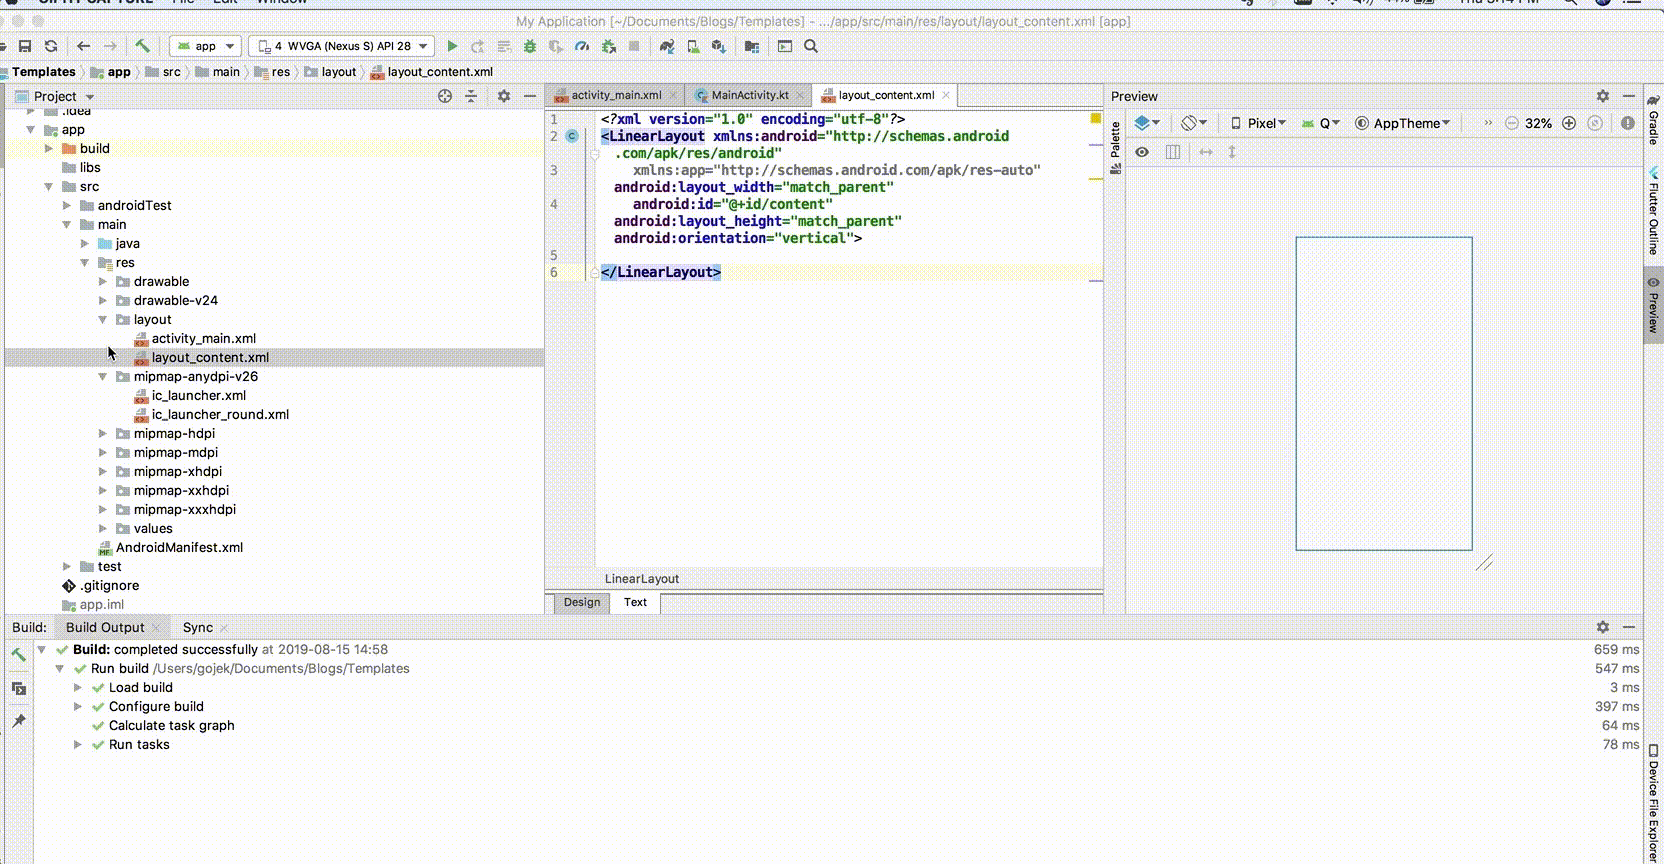
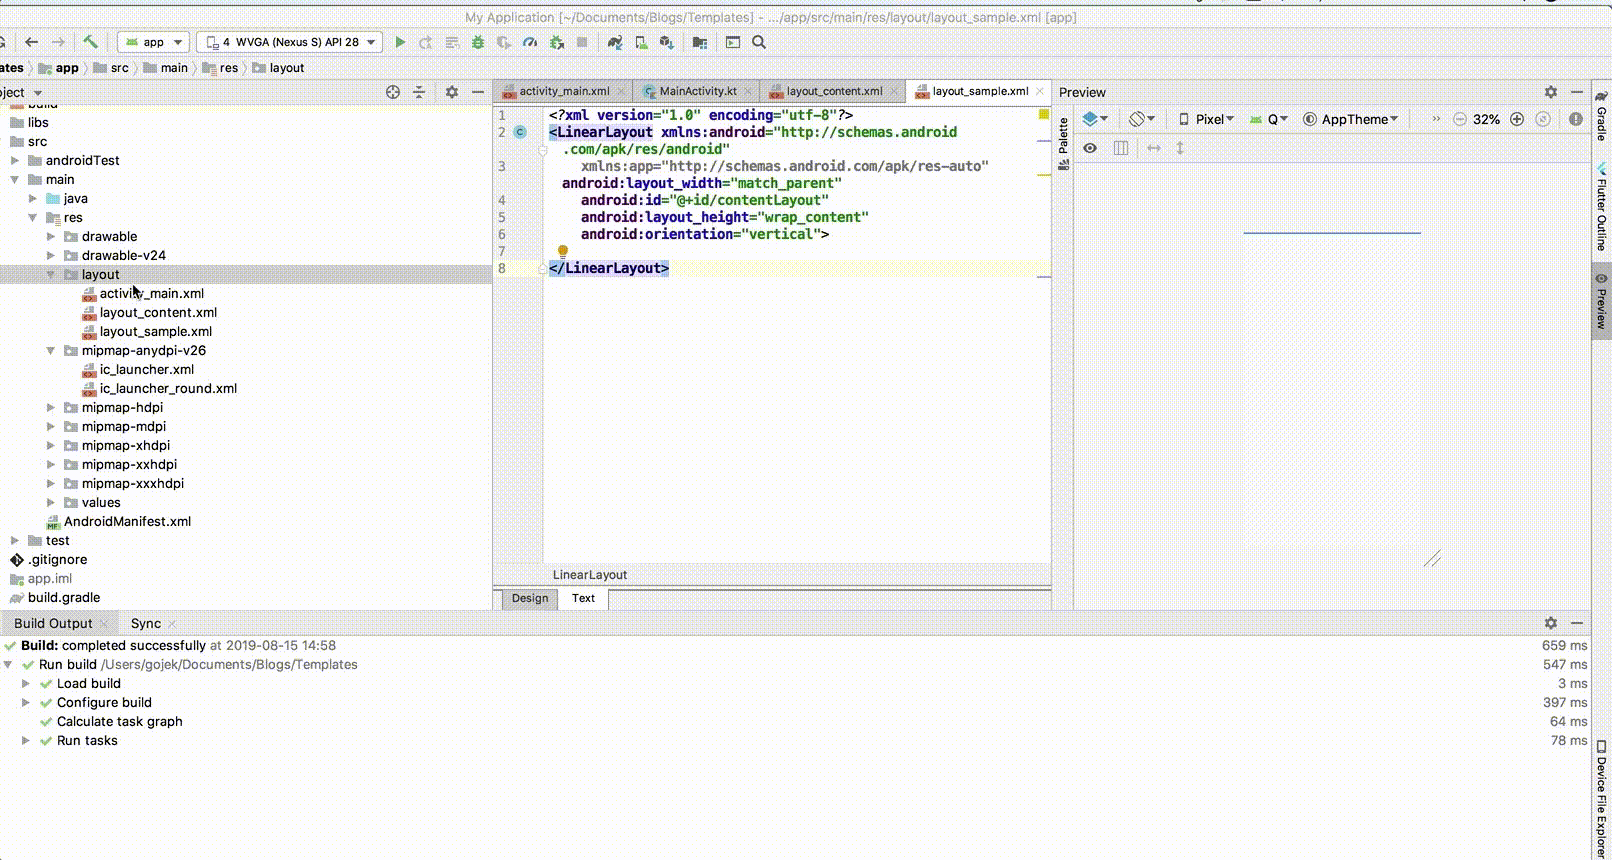
Imagine creating a layout. Android devs would know the pain of creating a LinearLayoutover and over.
What if we reduce some mundane steps using built-in layouts?
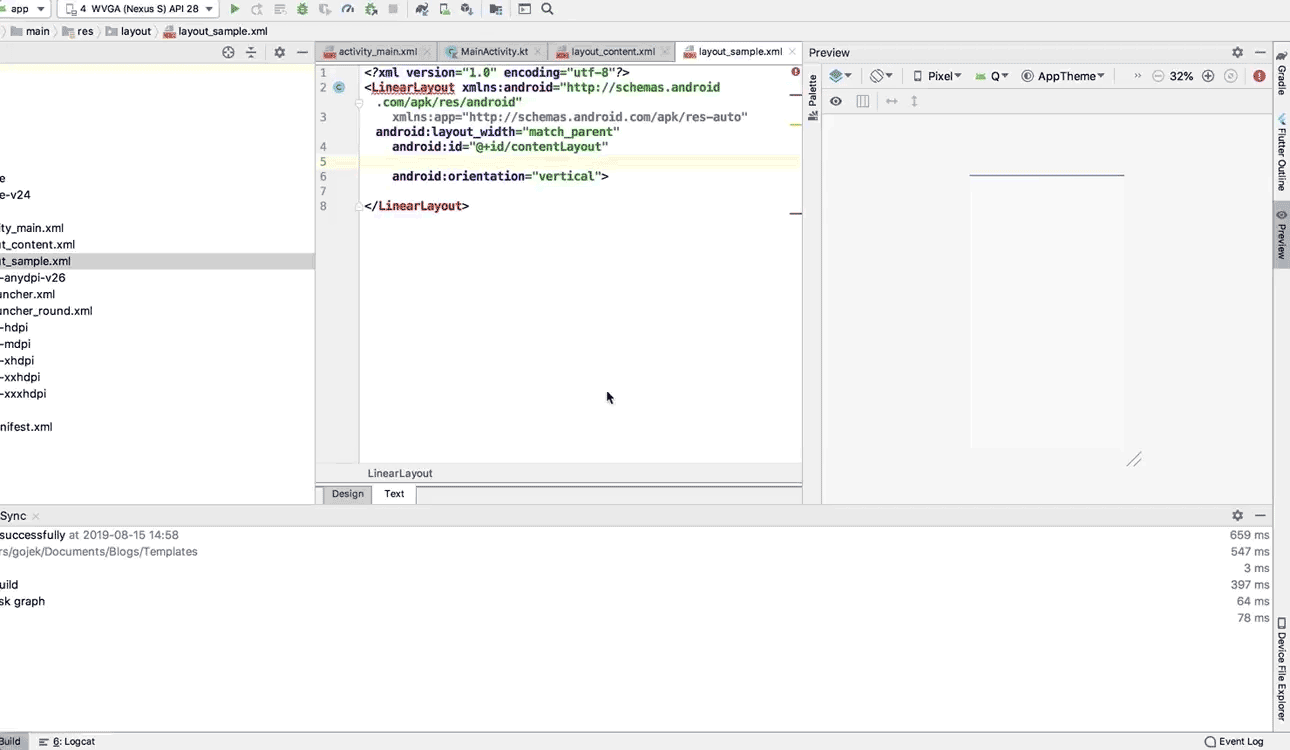
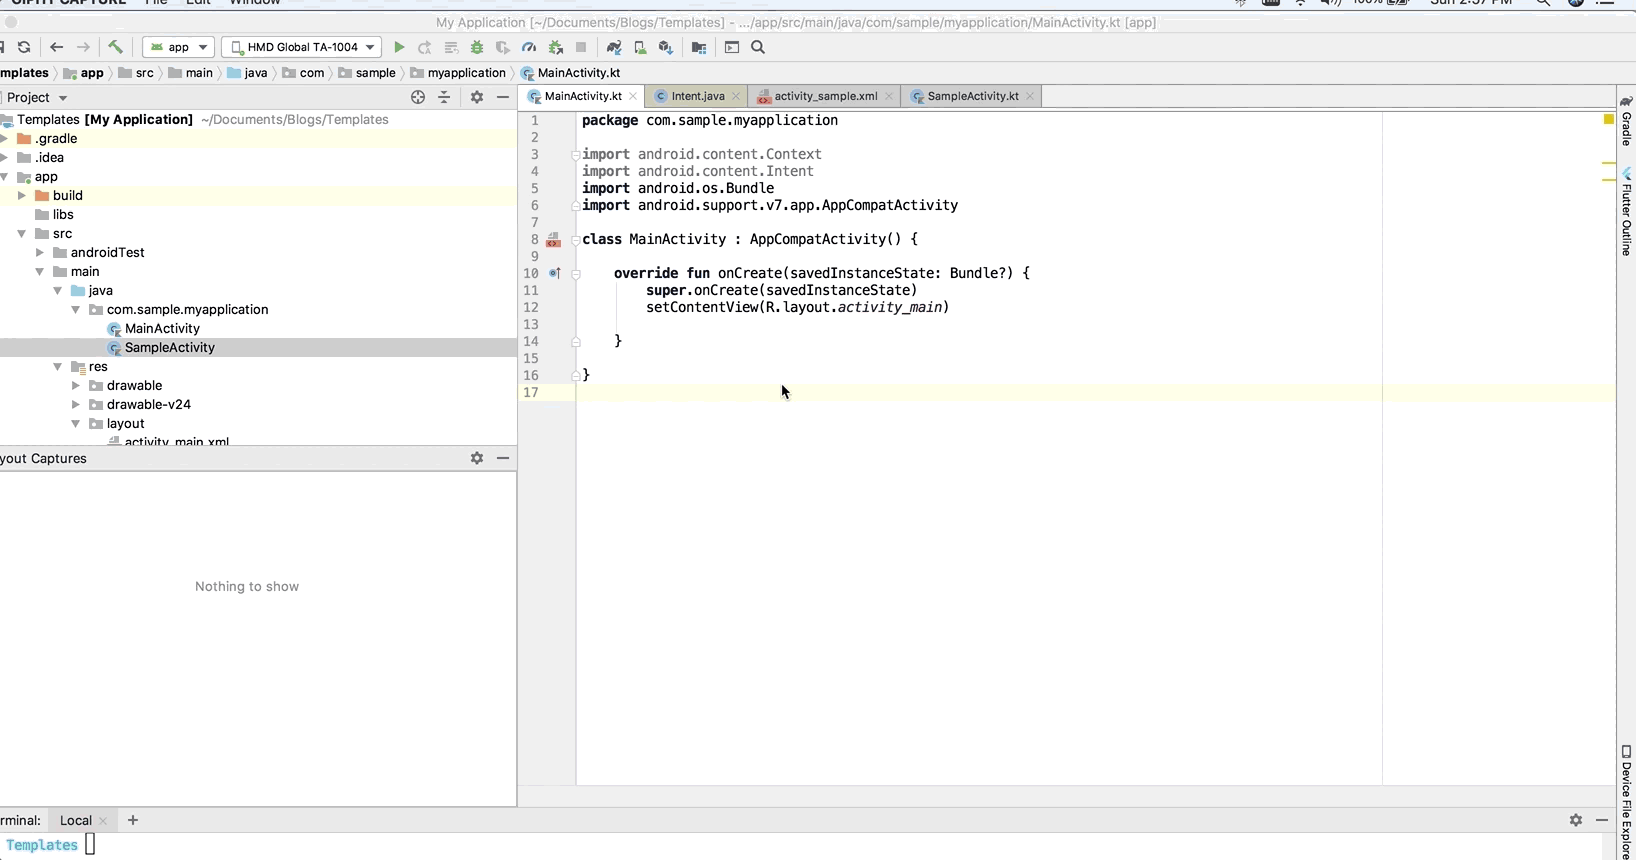
This is how you can create a small layout template:
This is a simple step that can help save time in the long run. What’s more, you can also make your own templates.
Live Templates
Live templates allow devs to insert constructions into code.
Or to quote Jetbrains:
By using live templates, you can insert frequently-used constructions into your code. For example, loops, conditions, various declarations, or print statements.
Android Studio provides some built-in live templates. For example, if you ever type lhwin layout files, the following code will be generated for you:
android:layout_height=“wrap_content”
Here’s how it works:
As you probably expect by now, Android Studio lets you create live templates of your own. You can insert any layout snippets in your existing code blocks

For example, you can add a LinearLayoutin your existing layout files by simply typing ll.
Step1:Open Preferences->Select live templates->Create new template in Android Xml
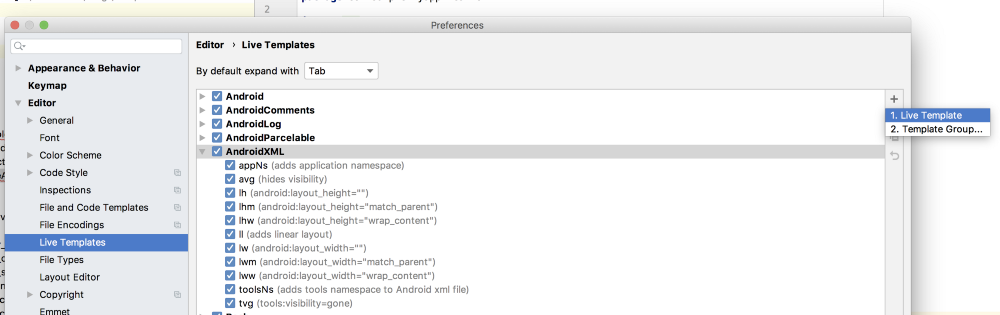
Step2:Define the live template
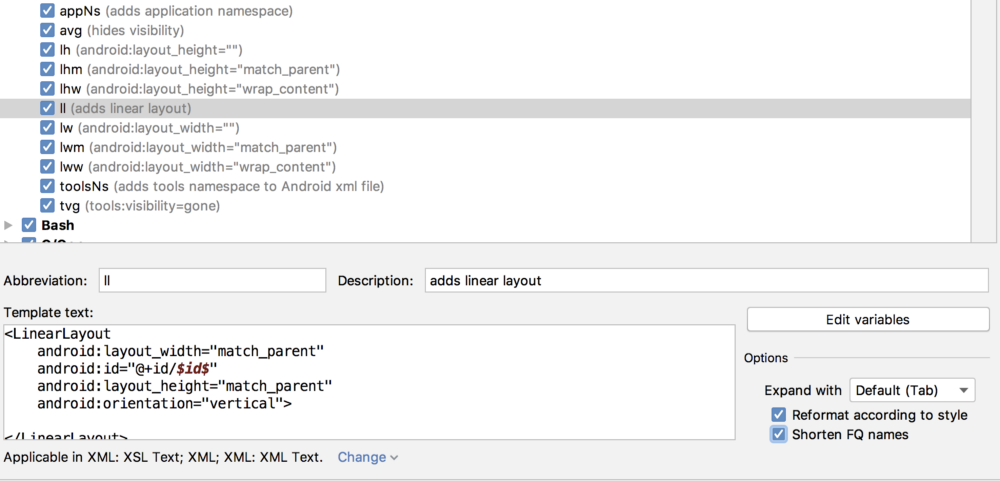
Abbreviations act as keywords, which will be used in .xml file. However, one thing to keep in mind is that the languages where the specified abbreviation will be shown must be defined first (as shown below). Otherwise, the defined template won’t work.

In same way, we can also create our own templates. Here is a demo I often use for visibility avg.
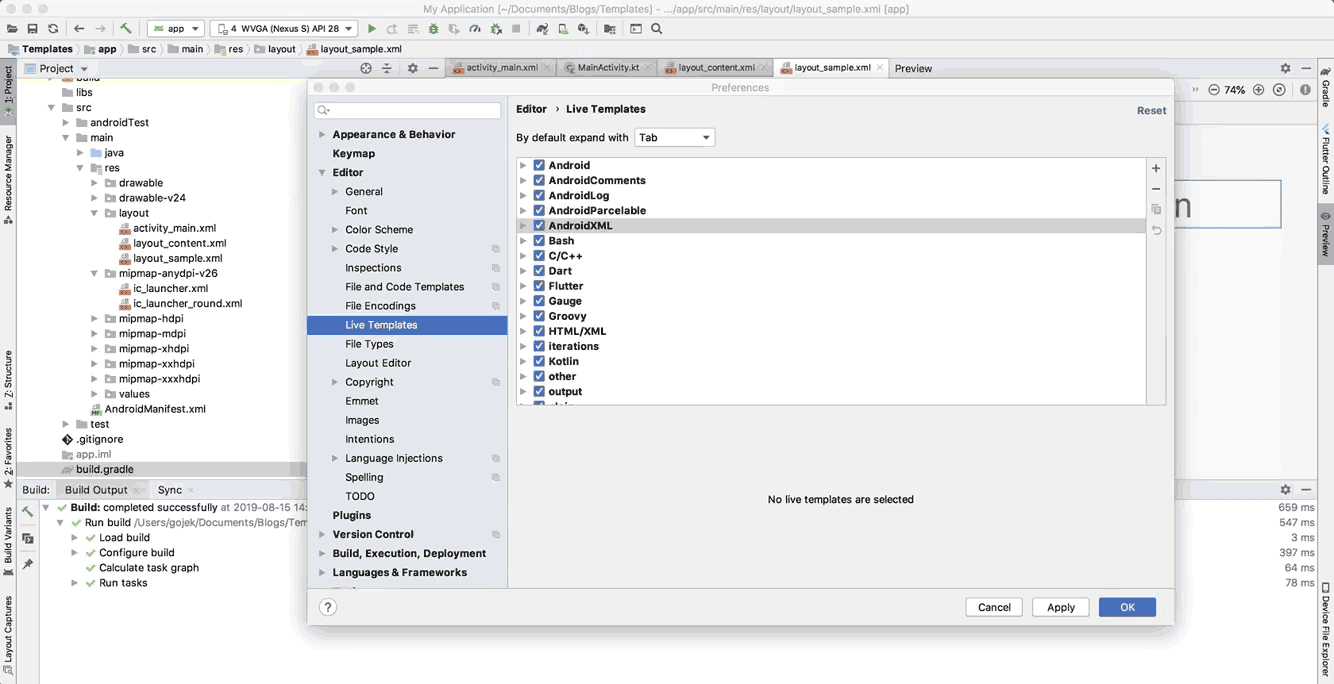
Remember:When using live templates make sure you always define the language where it will be used.
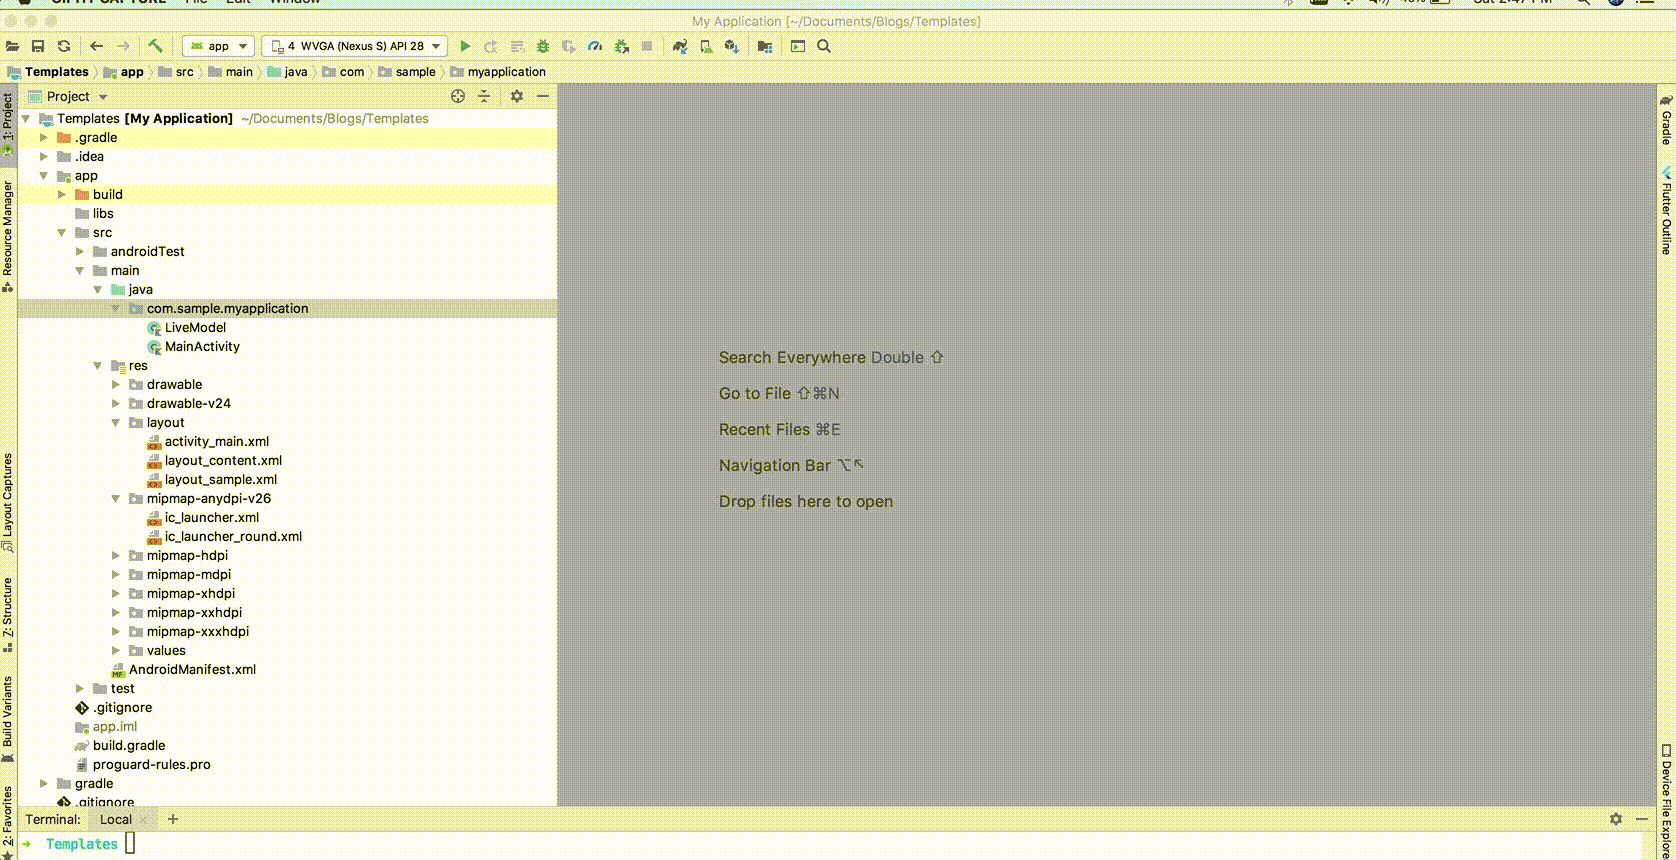
RecyclerView Adapter template
Now lets create a RecyclerView Adapter, which is a commonly used component in our day-to -day development cycle.
As we can see above, when we create templates, there are predefined variables that are used by IntelliJ IDE.
${PACKAGE_NAME} // as the name suggest it reserved for your package
${NAME} //Name of the file we specify
$DataType // Defines the type of data which will be used eg:String,Int
$Viewholder //Name of the viewholder
$Layout //Define the name of layout file
Note: If we chose to replace ${NAME} with our own predefined variable name, it won’t create the file in correct format.
Here, whatever we specify with prefix $ (except package name and file name) needs to be specified when we try to create an adapter, as shown below:
Request Permission Check Template
Now, let’s create a template to request permission check:

Note: $PERMISSION is a predefined variable that requires you to specify the specific permission when a template is added.
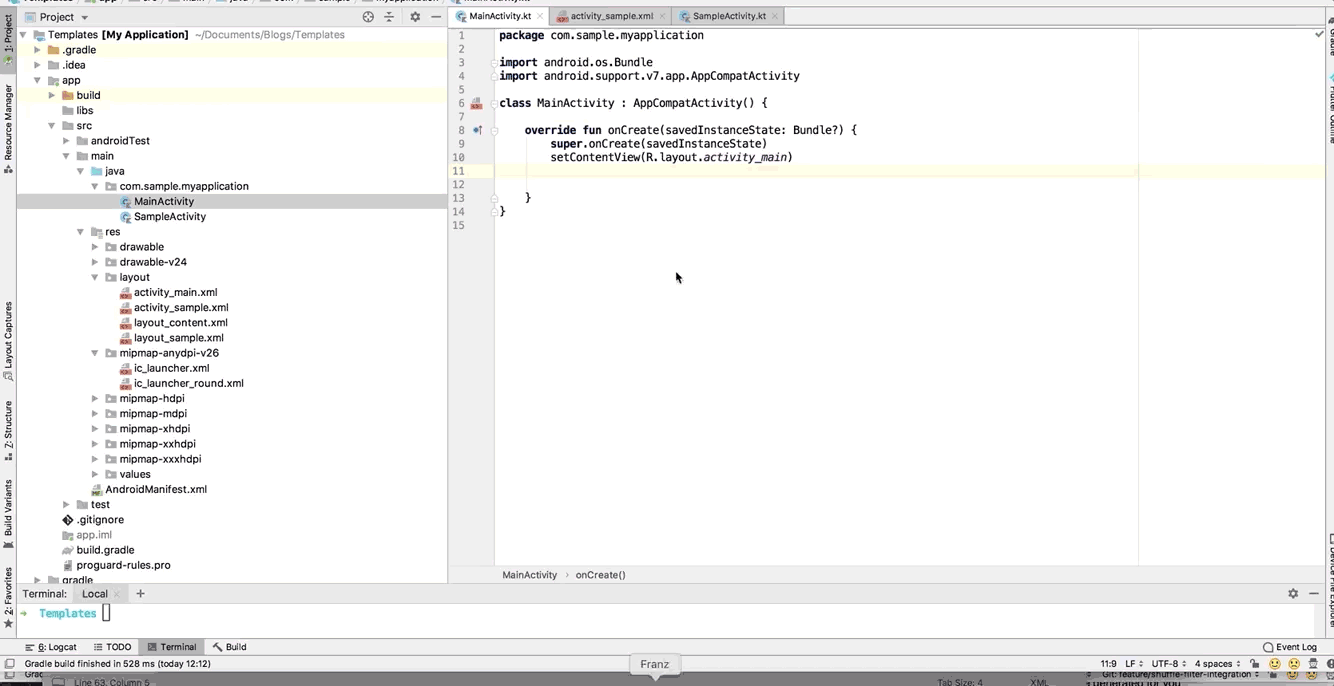
Return Intent template
I will conclude this post with one last example , to return an instance of Intent.
PREFIX — this is a custom-defined variable to add your method name. It can be something like getNavigationIntent, getHelpIntent.
PARAM1,$PARAM2 — as the name states, these are the parameters. For example, firstName, lastName
DATATYPE1,DATATYPE2 — a custom-defined variable which lets you add your type inference for the specified parameters (String,Intetc.).
ACTIVITY — another custom-defined variable to provide your target activity.
NAME1,NAME2 — to state the name of the extra data.
OK, now that we’re up to speed, here is how we create it:
getIntent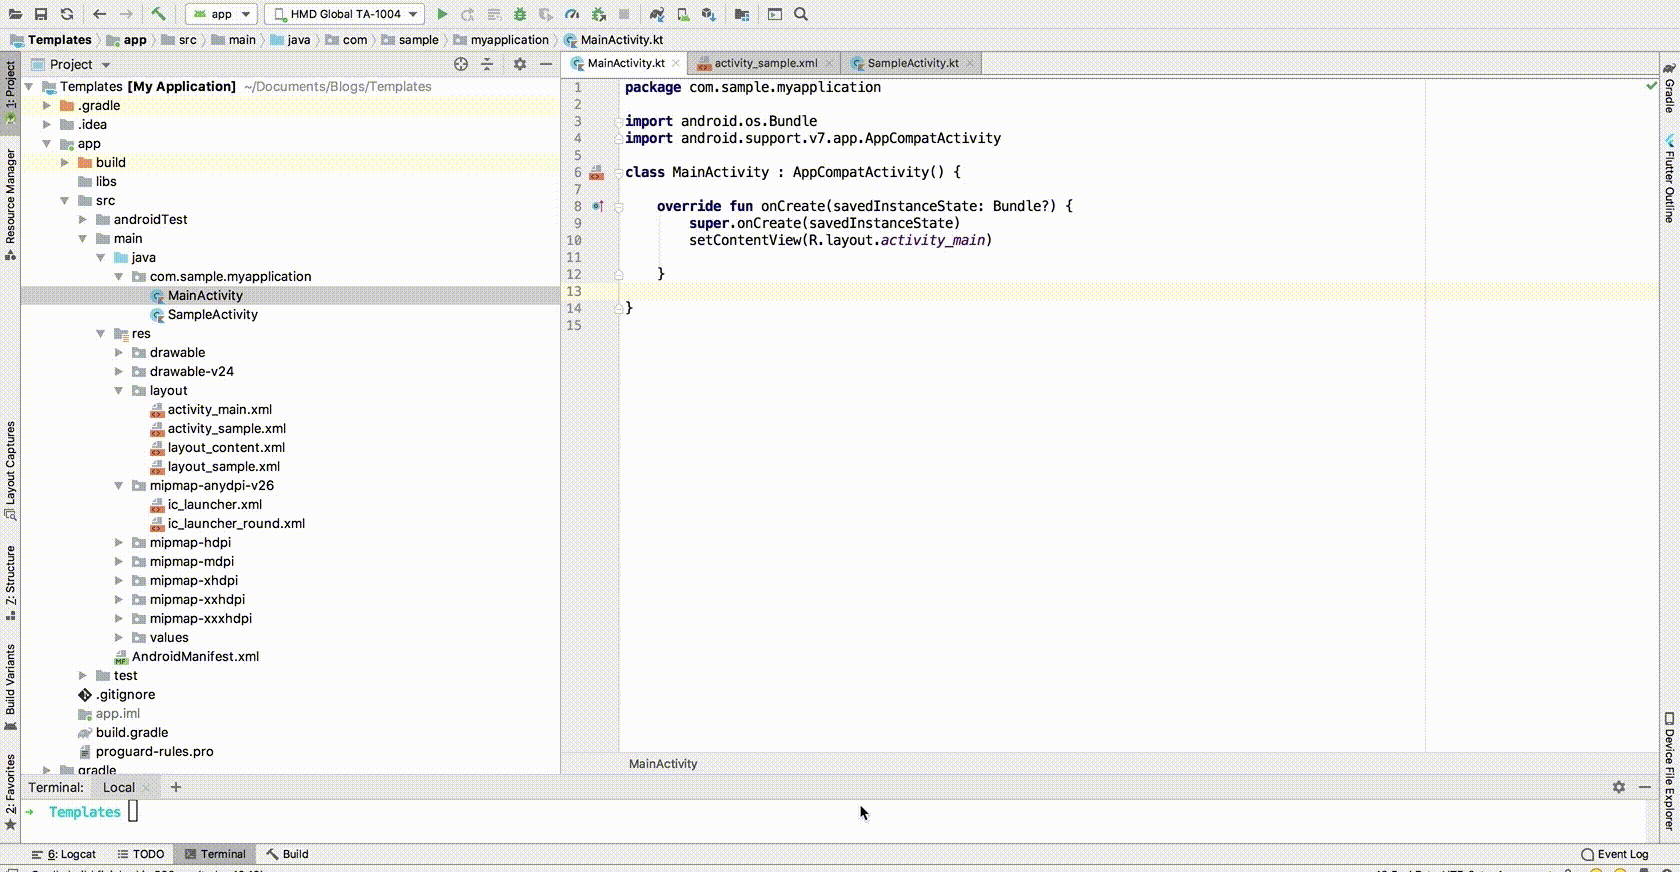
That’s all folks! Please share your feedback in the comments and let me know what templates or hacks you use to save time. 🙂
If you’d like to have more such posts delivered to your inbox, sign up for our newsletter!